QR Code for Wedding Photos: How to Make One Guests Can Upload To

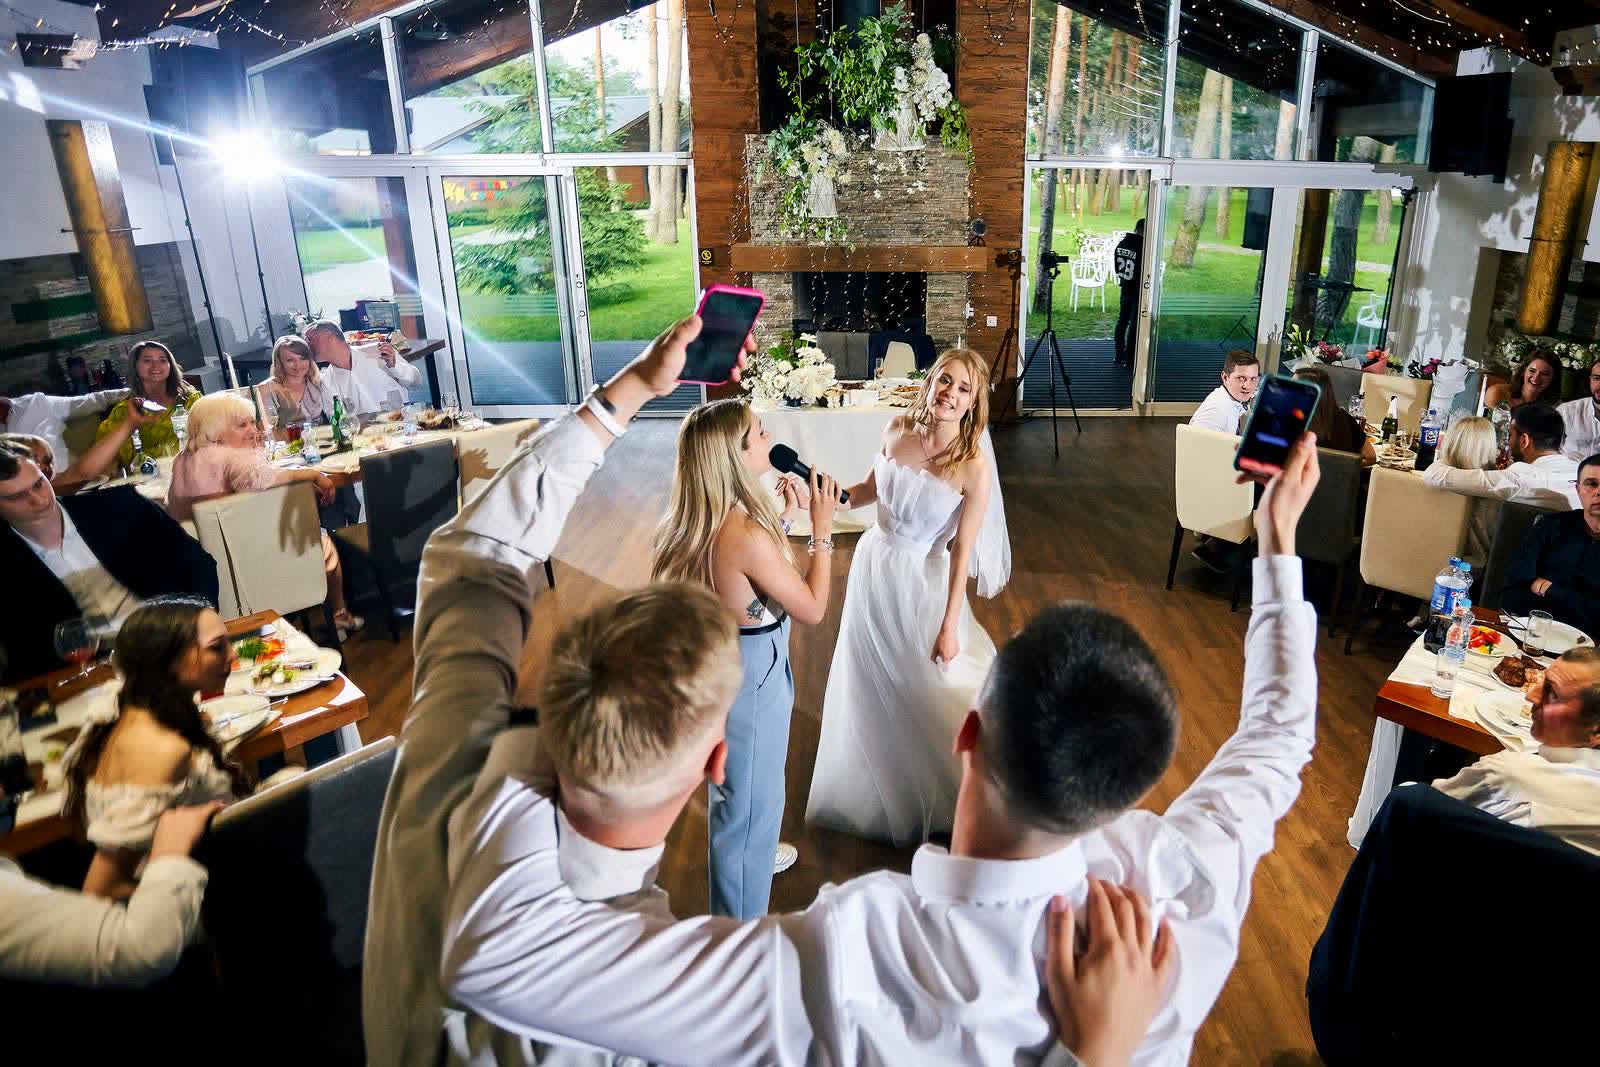
A wedding photo QR code is a scannable code that opens a photo upload page the moment a guest points their phone camera at it. No app, no login, no typing a URL. Guests tap, upload straight from their camera roll (or take a new photo on the spot), and it lands in your shared gallery automatically.
Making one takes five minutes. Making one that scans on a dim table at 9pm, from a card the size of a business card, depends on three things decided before you print: where the link goes, how long that link is, and how big you print it.
What you actually need before you start
Before you touch a QR code generator, you need somewhere for the photos to land. That decision matters more than the code itself, because the code is just a link and the destination is what guests actually have to use.
| Where photos land | Guest needs an account | Tells the guest it worked | Takes video |
|---|---|---|---|
| Shared Google Photos album | Yes, to add anything | No message, just the thumbnail | Yes |
| Google Drive folder | Yes, needs edit access | No message, just the file | Yes |
| Dropbox file request | No | Yes, a confirmation screen | Yes, up to the file size cap |
| Event page with uploads built in | No | Yes | Yes |
The first column quietly decides how many photos you get. Both Google options need a guest signed in to a Google account before they can add a single picture. That’s fine for your sister. It’s the reason your uncle gives up.
If you’re using ShareWithGuests, this step is already done: your event page comes with its own QR code and upload gallery built in together, so there’s nothing separate to connect.
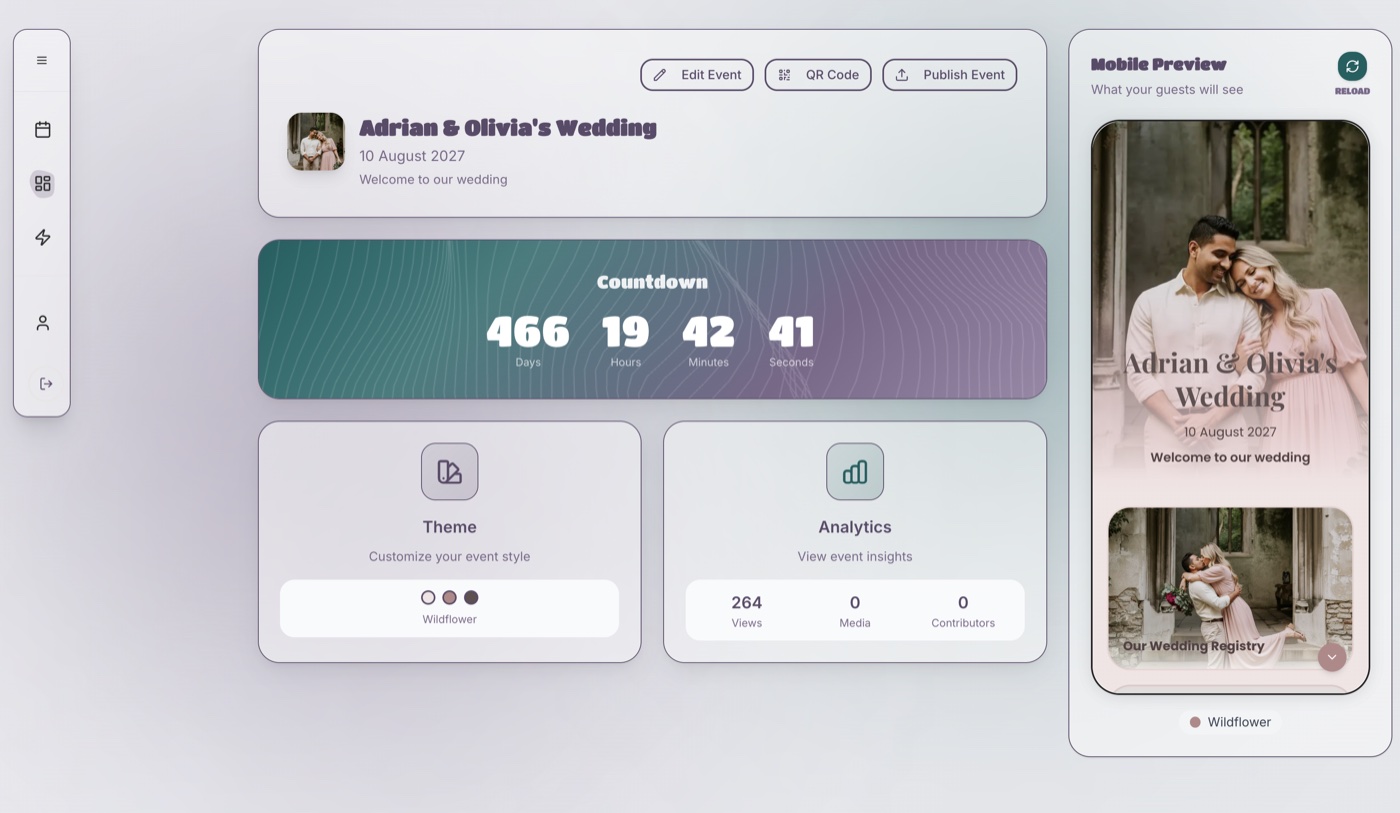
If you’re building it yourself, set the destination up first and get the final link. Then make the code.
How to make the QR code, step by step
- Open the destination link on your own phone before anything else. If the upload page is slow or awkward on mobile, a QR code won’t fix that, it will just deliver more people to it. Fix the page first.
- Decide static or dynamic (see below). Do this before you generate, not after.
- Use the shortest link you have. The length of the link sets how dense the pattern is, which sets how small you can print it. More on this below.
- Generate the code. Any free generator works for a static code, and you don’t need to hand over an email address for one. If you use Chrome on a desktop, it will make one for you with no third party involved at all: open the upload page, click the share icon in the address bar, and choose “Create QR Code”. Canva and Adobe Express both have free generators too.
- Download it as an SVG if the generator offers one. SVG is vector, so the same file prints crisp on a 3 cm table card and a 15 cm welcome sign. A small PNG blown up to poster size goes soft at the edges and scan reliability drops with it. If PNG is your only option, export at the largest size available, not the default.
- Set error correction to H if you’re putting anything in the middle. Generators offer four levels, L through H, and they control how much of the code can be obscured while still scanning. A monogram or a logo over the centre needs the highest level (H, roughly 30% redundancy). Drop a logo onto a code generated at L and it may scan on your desk and fail on a dim reception table.
- Scan your own code off the screen before you send anything to a printer. The printed test comes later (see below).
Static or dynamic: the choice you can’t undo after printing
This is the one choice on this page that can’t be walked back once 150 table cards are printed and boxed.
A static code has the URL baked into the pattern itself. It’s free, it works forever, and nobody can switch it off. But the pattern is the link, so if the destination changes, every printed card is dead.
A dynamic code points at a redirect owned by whoever generated it. You can re-point it after printing, and you get scan statistics. It costs a subscription, and it stops working if you stop paying or the provider goes away.
For a wedding, static is usually right. It’s a one-day event, you know the destination weeks ahead, and there’s no ongoing campaign to re-point. The one real case for dynamic is when your stationery has to go to print before you’ve finalised where photos will land.
If you do go dynamic, be on a plan you’ve paid for before you print. Some generators hand out “free” dynamic codes that expire or paywall after a trial: the permanence of print with the fragility of a subscription you didn’t know you had.
The link you encode decides how small you can print
Every QR code is a square grid of black and white modules. A longer link needs more modules to hold it, so at the same printed size each module gets smaller, and small modules are what a phone camera struggles with in low light. Sizing guides tell you how big to print. None of them tell you that the link itself moves the answer.
We encoded five typical link shapes with the open-source qrcode library (the random part of each link is placeholder text of the real length) and counted the grid at the two error correction levels that matter for a wedding: M, the usual default, and H, which you need if a monogram sits in the middle.
| Link you encode | Characters | Grid at level M | Grid at level H | Module width on a 3 cm code, level H |
|---|---|---|---|---|
| Short event page link | 42 | 29 x 29 | 37 x 37 | 0.8 mm |
| Dropbox file request | 52 | 33 x 33 | 41 x 41 | 0.7 mm |
| Google Drive folder, as shared | 84 | 37 x 37 | 49 x 49 | 0.6 mm |
| Google Photos album, copied from the address bar | 160 | 53 x 53 | 69 x 69 | 0.4 mm |
Grid sizes follow the QR standard’s fixed versions (Denso Wave, the inventor of the QR code), so any generator will give the same count for the same link and error level. Encoded September 2026.
Two things follow from that table. First, a long Google Photos link with a logo in the middle packs nearly twice as many modules across a table card as a short link does, and each one is half the width. It may still scan on your desk. It is the code most likely to fail on a candlelit table. Second, the fix is free: trim tracking parameters such as ?usp=sharing where the link still works without them, and if the destination offers a short share link, use that one.
What not to do is run the link through a free URL shortener to make it shorter. The code then points at the shortener, not your gallery, which quietly turns a static code into a dynamic one owned by a company you have no arrangement with. If you want a redirect, choose one on purpose (below), not by accident.
QR code sizing and printing, done right
The usual rule of thumb is that a phone scans a code from about ten times its width, so a 3 cm code works from about 30 cm, and 2 cm is the practical floor for anything scanned close up (QR Code Generator). Treat the sizes below as the minimum for a short link, and go up a step if yours is one of the long ones in the table above.
| Where it’s going | Recommended size | Scanned from | Notes |
|---|---|---|---|
| Table cards | 3–4 cm | Arm’s length, seated | Most common failure point: too small, printed too light |
| Welcome sign / easel | 10–15 cm | About a metre, once a guest steps up to it | Read from further away, but scanned close |
| Programme insert | 2.5–3 cm | Hand-held | Fine at this size only if printed sharp, not photocopied |
| Favour or thank-you card | 2–2.5 cm | Hand-held | The floor; test this one specifically before printing in bulk |
Two rules that matter more than exact sizing: use a dark code on a light, solid background (patterned or photo backgrounds behind a QR code are the single most common scan failure), and always keep a quiet zone (a plain white border of at least the width of one QR module) around the code. A beautifully designed card with the code crammed against a photo edge will scan worse than a plain one with breathing room. And print the link itself as text underneath, short enough to type, so a guest whose camera won’t cooperate still has a way in.
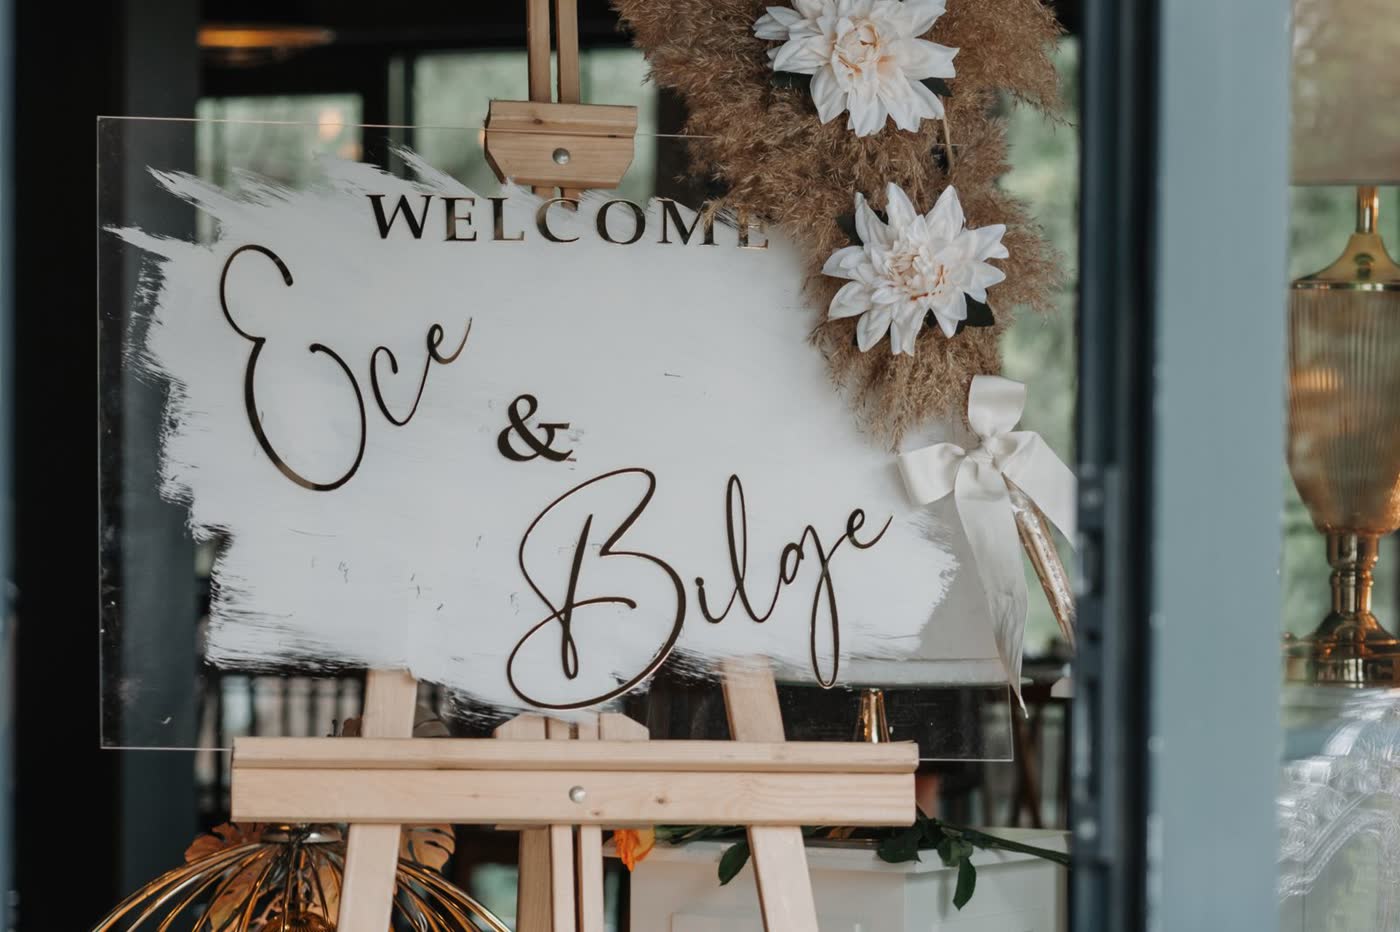
Guests read a sign like this from two or three metres away while walking past, then step up to scan it. That is why it needs a 10–15 cm code and a table card does not.
What a QR code photo setup actually costs in the UK
UK prices, checked August 2026.
| What you’re paying for | Typical cost | What it does and doesn’t buy |
|---|---|---|
| Static QR code | Free | The image file, and nothing to renew |
| Dynamic QR code | QR Code Generator, an EU vendor, starts at €8 a month billed annually (€96 for the year, before VAT), so add currency conversion | The ability to re-point the code after printing, plus scan stats |
| Place or table cards carrying the code | £6 for 100 at Vistaprint UK, minimum order 100, plus £4.50 delivery (free over £40) | The cards. Not the design work, if you want that done for you |
| Foam board welcome sign | From £15.19 a board at Vistaprint UK | One sign. Easels are usually separate or hired from the venue |
| Somewhere for photos to land, DIY | Free on an account you already have | Storage. No upload confirmation, and guests need an account |
| Event page with uploads and QR built in | ShareWithGuests from £49 for one event | Destination, QR code and gallery as one thing, no account for guests |
The code itself is almost never the cost. Printing is, and the figure that catches people out is the minimum order: 100 place cards is the smallest run at most UK printers whether you have 40 guests or 140. A reprint the week of the wedding costs rush postage on top, which is the real argument for the testing below.
Where to place it (and where not to)
Table cards, the bar and the guest book table work best, because they’re spots where guests already have their phones out. One thing matters more than any single placement: put the same code everywhere. Multiple different codes pointing to different places is how photos end up split across galleries nobody remembers to check.
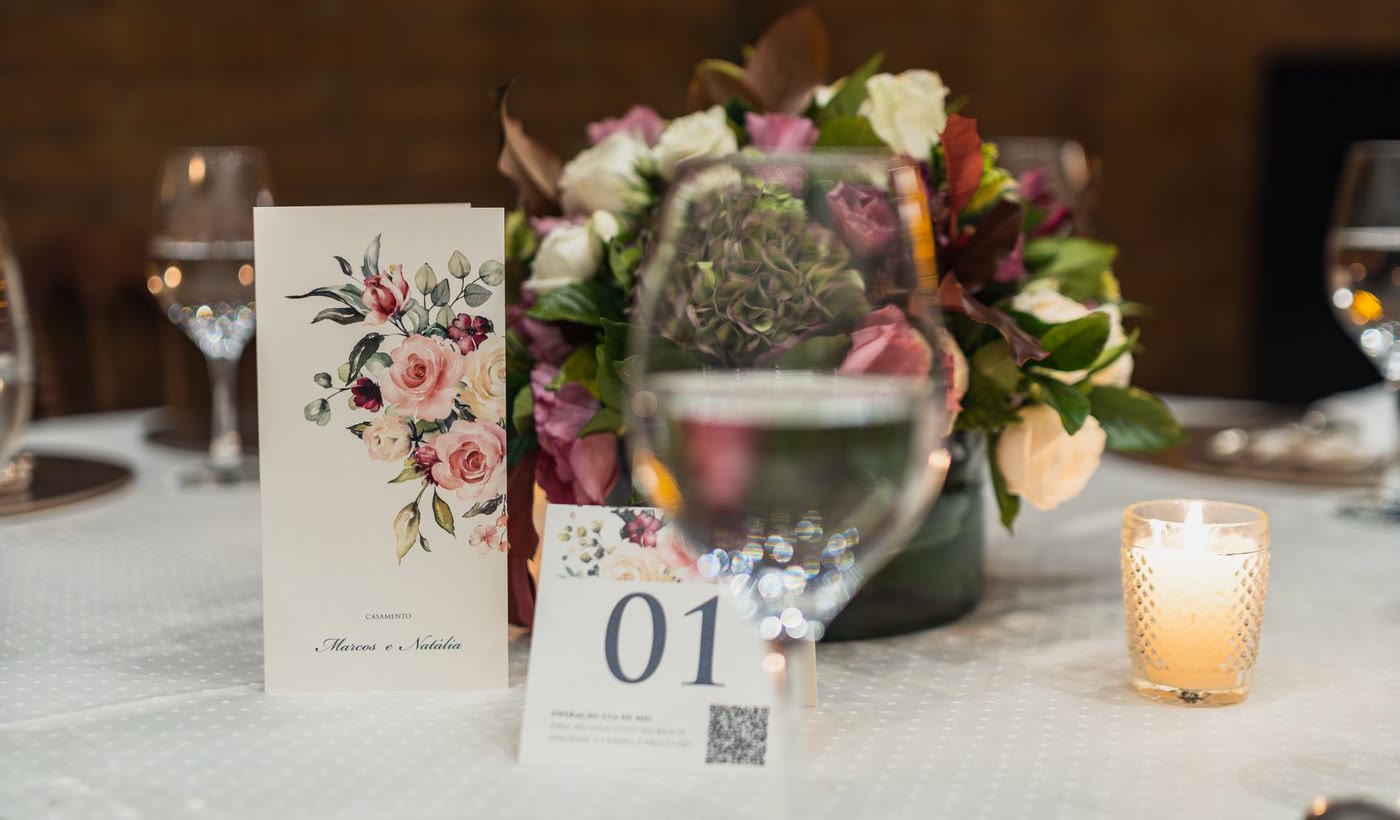
This is the look to aim for: the code sits quietly on the table number card itself, no separate sign competing for space, styled to match everything else on the table.
The same logic applies to the entrance. If you are also using a digital wedding seating chart so guests can look up their own table, put it behind this code rather than printing a second one, so guests scan once on the way in and already have the photo upload open when they sit down.
Test it before the wedding, not during
Testing is what stops “just scan it” from quietly failing on the day. Before you print anything in bulk:
- Scan the printed test copy, not the code on your screen. A code that scans fine on a laptop display can fail once it’s printed small and slightly out of focus.
- Test on both iPhone and Android, ideally with the built-in camera app, not a QR scanner app, since most guests will use whichever camera app opens by default.
- Check what happens after the scan. Does the upload page load fast? Does a guest get any confirmation their photo actually uploaded? If there’s no confirmation, expect people to scan once, assume it worked, and never check back.
- If you know your venue has weak signal or spotty wifi, test from the actual room if you can get access beforehand, not just from home.
Do this a week out, not the morning of. It leaves you time to reprint if something’s off.
Getting guests to actually use it
A QR code sitting silently on a table is easy to ignore. A code someone mentions out loud is not. Ask the DJ or MC for one line during the drinks reception and one more once dinner is over. Decide in advance which two moments in your reception timeline those prompts land on, so they end up on the DJ’s running sheet rather than depending on someone remembering. Pair it with a specific, warm prompt rather than a bare “scan me”: something like “Caught a moment? Scan the code on your table and add it to our album” gives guests a reason, not just an instruction. For the first hour, it also helps to have one person (an usher or a sibling) who is happy to take a phone and do the scanning for anyone who asks.
The moments worth capturing aren’t staged, they’re exactly this: mid-song, phones half-forgotten, everyone actually there. That’s what a good reminder gets you more of.
Quick answers
How do I make a QR code for wedding photos? Get the shortest upload link you can, put it into any free generator, download it as an SVG, and scan a printed test copy before you order the full run.
Should I use a static or a dynamic QR code? Static for almost every wedding. It’s free, permanent, and can’t be switched off. Choose dynamic only if your stationery goes to print before the destination is settled.
Do guests need to download an app? No. A wedding photo QR code should open a browser upload page directly. If a service asks guests to install an app first, expect participation to drop sharply; that friction is exactly what QR codes are meant to remove.
What size should a wedding QR code be? 3–4 cm for table cards and 10–15 cm for a welcome sign, a step larger if the link is long.
How small can a wedding QR code be? About 2 cm for a short link scanned at hand-held distance, and only after you have tested a printed copy.
What happens if my venue has bad signal? Test from the room beforehand if you can. If signal is genuinely unreliable, keep the printed link as a backup and let guests upload later that night or the next day, since most upload systems don’t require the photo to be sent the instant it’s taken.
Can guests upload video too, not just photos? With most modern systems, yes: the same QR code and upload page typically accepts both. Worth checking before the day, since not every DIY setup (a plain photo album link, for instance) supports video the same way.
The checklist
| When | What to do |
|---|---|
| 4 weeks before | Choose your upload destination and get the final link |
| 3 weeks before | Shorten the link where you can, decide static or dynamic, then generate the code and download it as an SVG |
| 1–2 weeks before | Print a physical test copy at true size, with the typed link underneath, and scan it on both iOS and Android |
| Week of | Print table cards, signage, and any programme inserts |
| Day of | Brief the DJ or MC on the verbal prompt; name one person to help anyone who asks |
| During the reception | Repeat the verbal prompt at least once more after the first hour |
Get the destination, the link length, the sizing and the testing right before the day, and the rest (placement, prompts, the occasional guest who needs help) takes care of itself.
The other half of this is what you actually say to guests, which is a different problem from where the code goes: what to ask for at the ceremony versus the reception, and how to word it. That’s covered in wedding photo etiquette for guests.
Everything above is the collect direction. Sending photos back out afterwards runs on a different schedule, starting the morning after and long before your photographer’s gallery arrives: see how to share wedding photos with guests.